 1/3
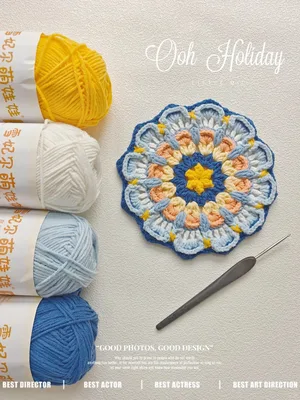
Blue Sakura Magic Circle Coaster
Original design by @屿沫手作
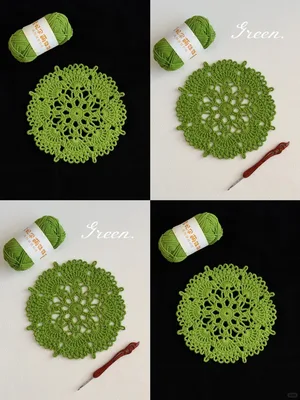
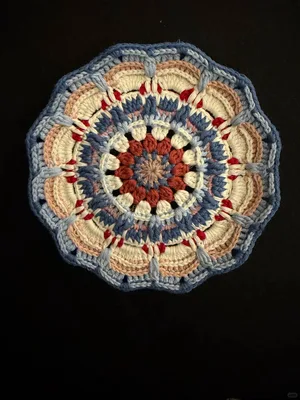
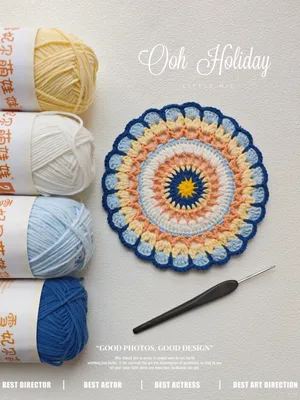
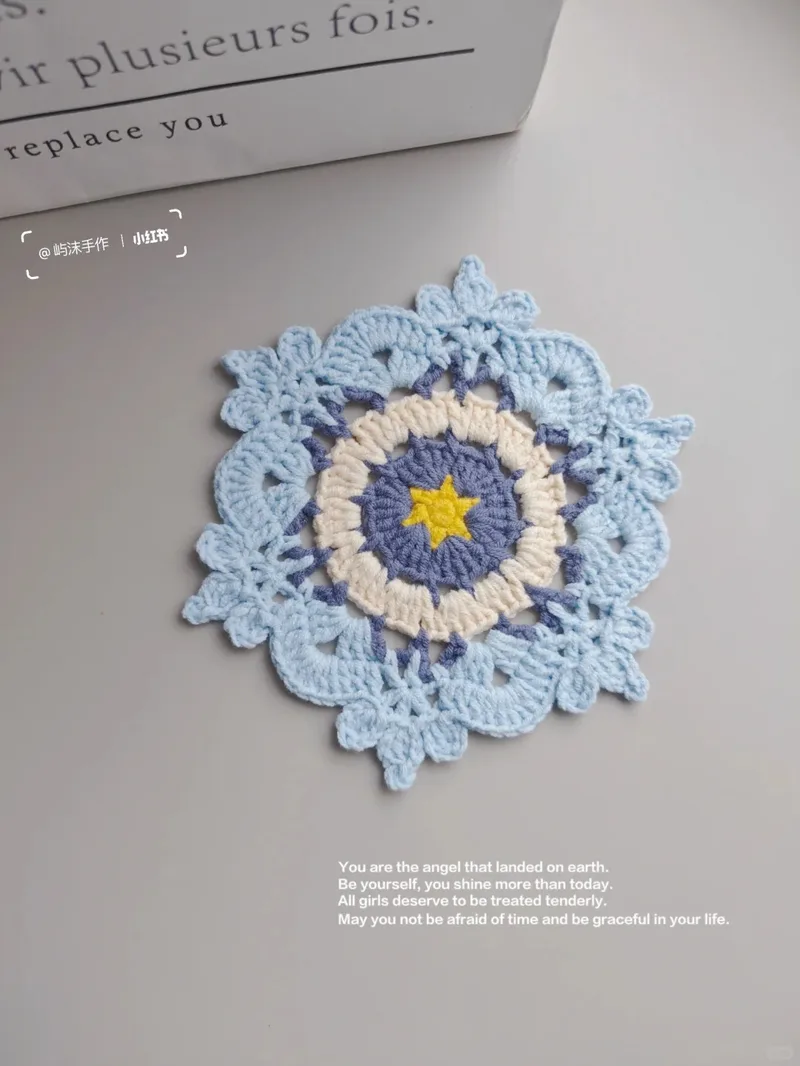
A six-point lace coaster worked in four colours, with a bobble and picot edge on the final round. Step photos cover every round, so it suits anyone moving beyond basic motifs.
- Difficulty
- Intermediate
- Hook
- 2.5mm
- Yarn
- 4-ply cotton
- Time
- 1-2 hours
Materials
As an Amazon Associate, Hooklore earns from qualifying purchases. Links open Amazon — a matching product or search results.
Stitches used: MR, ch, sc, dc, inc, sl st, picot, bobble
Blue Sakura Magic Circle Coaster — Step Photos, Rnds 1-8

Rnd 1: 6 sc in a magic ring (6)
Rnd 2: *inc, ch 1*, repeat 6 times
Rnd 3: *5 dc into each ch-1 space*, repeat 6 times
Rnd 4: *(sc, ch 3) between two 5-dc groups, then (sc, ch 3) into the 3rd dc of the 5-dc group*, repeat 6 times
Rnd 5: *(dc, ch 1, dc) into the sc, 3 dc into the ch-3 space, dc into the next sc, 3 dc into the next ch-3 space*, repeat 6 times
Rnd 6: *(sc, ch 5) into the ch space, skip 2, (sc, ch 3), skip 3, (sc, ch 5)*, repeat 6 times
Rnd 7: *(3 dc, ch 3, 3 dc) into the ch-3 space, (sc, ch 2) into the ch-5 space, (dc, ch 2) into the sc, sc into the next ch-5 space*, repeat 6 times
Rnd 8: 1 dc into each of the 3 dc, 6 dc into the ch-3 space, 1 dc into each of the next 3 dc

K = skip. Change colour at Rnds 3, 5 and 7 for the yellow, pink and blue rings.
Notes
Step-by-step photo tutorial for the first 8 rounds. 2.5 mm hook, 4-ply cotton in 4 colours. The coaster works up in any colourway.
Blue Sakura Magic Circle Coaster — Final Round Detail (picot points)

1. Work a dc into a dc of Rnd 7.
2. Ch 3 to stand up, then work a 2-dc bobble (2 unfinished dc) into the same dc.
3. Yarn over and draw through all loops at once, ch 3, sl st into the same stitch, then ch 1.
4. Work 1 more dc into the same Rnd 7 dc and make another bobble.
5. Ch 3 to stand up and make a picot.
6. The finished picot should sit proud at the tip of the point.
7. Ch 3 and sl st into the same stitch.
8. Work the mirror-image motif on the right side into the same Rnd 7 stitch.

Repeat around to make all the picot points, then fasten off and weave in ends.
Notes
Detail photos for the decorative picot/bobble edging on the last round. Work loosely so the points do not curl.
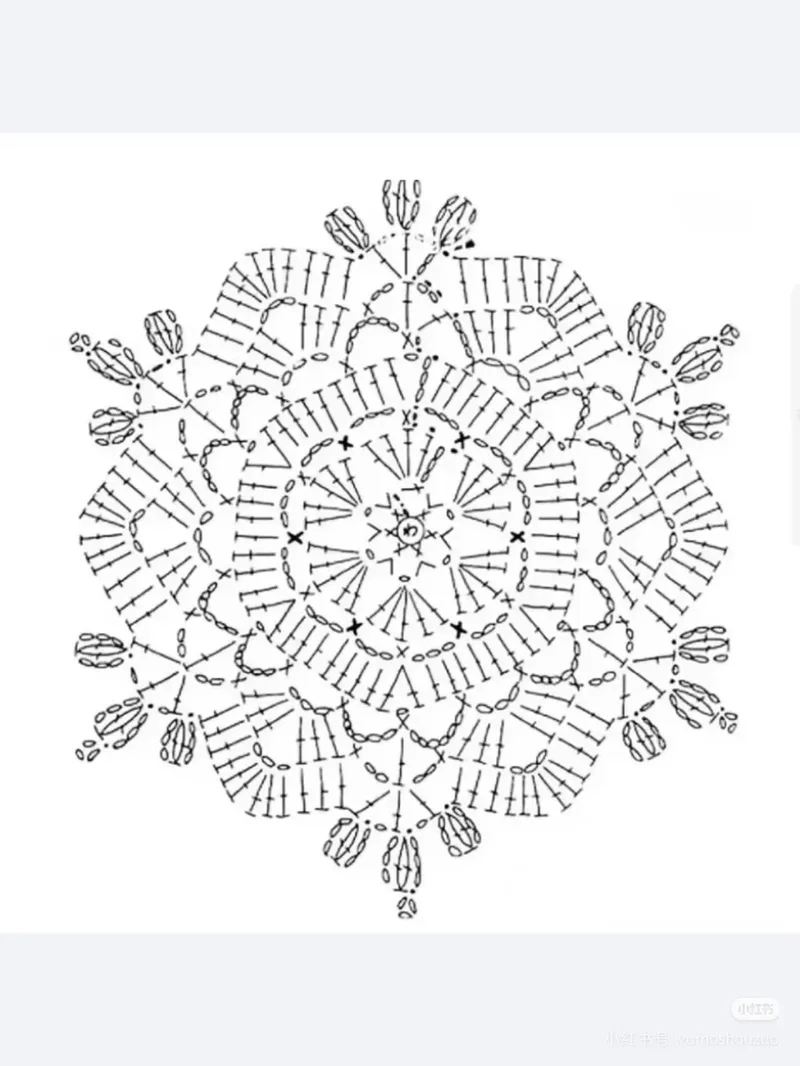
Blue Sakura Magic Circle Coaster — Symbol Chart (Rnds 1-8)

Rnd 1: MR, 6 sc (6)
Rnd 2: *inc, ch 1*, x6
Rnd 3: *5 dc in each ch-1 space*, x6
Rnd 4: *(sc, ch 3) between the 5-dc groups, (sc, ch 3) in the 3rd dc of each group*, x6
Rnd 5: *(dc, ch 1, dc) in the sc, 3 dc in the ch-3 sp, dc in the next sc, 3 dc in the next ch-3 sp*, x6
Rnd 6: *(sc, ch 5), skip 2, (sc, ch 3), skip 3, (sc, ch 5)*, x6
Rnd 7: *(3 dc, ch 3, 3 dc) in the ch-3 sp, (sc, ch 2) in the ch-5 sp, (dc, ch 2) in the sc, sc in the next ch-5 sp*, x6
Rnd 8: dc in each of the 3 dc, 6 dc in the ch-3 sp, dc in each of the next 3 dc, finishing each point with bobbles and a ch-3 picot as shown.

Fasten off and weave in ends. The motif is a six-point flat lace circle.
Notes
Language-independent chart for the whole coaster; matches the two step-photo sheets. 2.5 mm hook, 4-ply cotton.
Crochet Diagrams
Frequently asked questions
Where do the colour changes fall?
The sample changes colour at Rounds 3, 5 and 7, which is where each new ring of the design begins. Any four-colour combination works because the stitch counts never change.
How is the picot point made?
Chain 3, work a 2-dc bobble into the same stitch, close it, chain 3 and slip stitch back into the same stitch. The mirror-image half is then worked into that same Rnd 7 stitch.
Why does my edge curl?
The final round packs several stitches into one place. Work the bobbles and picots loosely and block the coaster flat when you are done.
Can I use this as a motif rather than a coaster?
Yes, the hexagonal six-point shape joins neatly to copies of itself if you slip stitch the points together on the last round instead of finishing each one separately.