 1/2
Star Baby Bonnet
Original design by @粒子🌰
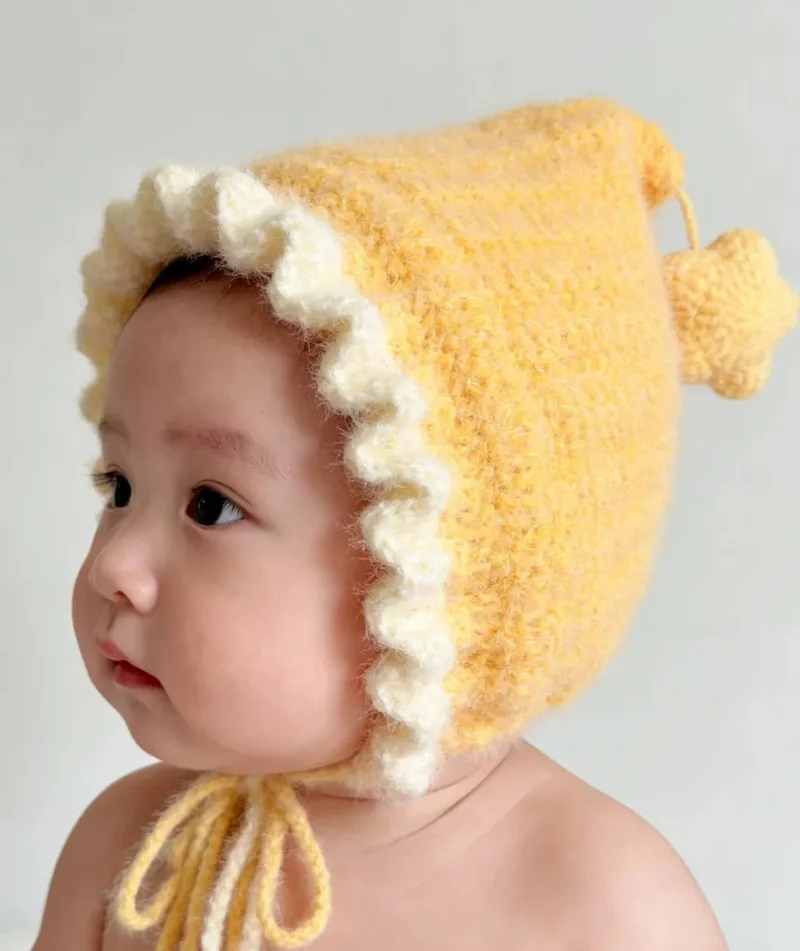
A soft baby bonnet worked flat as a simple double crochet rectangle, then folded and seamed, with a double-crochet ruffle around the face and a small crocheted star on the side. A good first hat project.
- Difficulty
- Beginner
- Finished size
- Fits a head circumference of about 52 cm
- Time
- 2-4 hours
Materials
As an Amazon Associate, Hooklore earns from qualifying purchases. Links open Amazon — a matching product or search results.
Stitches used: MR, ch, dc, sc, hdc, tr, inc
Star Baby Bonnet — Body, Edging and Star

Body
Ch 78 (fits a head circumference of about 52 cm). Starting in the 3rd ch from hook, work 76 dc.
Turn and work 76 dc per row, back and forth, for 19 rows.
Fold the rectangle in half and seam the back seam.

Edging
Rnd 1: 2 dc in every stitch around the face opening
Rnd 2: 1 dc in every stitch around

Star (make 2 and sew together)
Rnd 1: MR, 10 dc (10)
Rnd 2: 10 dc inc (20)
Rnd 3: *(sc, hdc), (dc, tr), (tr, dc), (hdc, sc)*, repeat 5 times to form the 5 points

Ties: crochet two chains and thread one through the edging and one through the neck edge.
Notes
Sized for a newborn to small baby (52 cm head). Worked flat as a simple dc rectangle then folded, so it is a good first hat project. F = dc, T = hdc, E = tr, FV = dc increase.
Frequently asked questions
How do I adjust the size?
The foundation chain sets the depth and the row count sets the width. The sample chains 78 and works 19 rows for a 52 cm head, so add or remove chains and rows proportionally for a different size.
How is the bonnet shaped?
There is no shaping at all. The rectangle is folded in half and seamed along the back, and the face edging plus the ties pull it into a bonnet shape.
What makes the frilled face edge?
The first edging round places 2 dc in every stitch, which doubles the stitch count and forces a ruffle. The second round works 1 dc in each stitch to settle it.
How are the ties attached?
Crochet two plain chains and thread one through the edging round and one through the neck edge, then knot the ends so they can be tied under the chin.